- •
Why Paint Plein Air?
I don’t know about you, but I get really excited about my art journey when I know I’m growing. It’s not about arriving at any particular place, it’s about seeing real results at the easel and that feeling of satisfaction that comes from incremental improvements. If I know this painting I’m working on is better than my last, I’m one happy camper.
I tell you what, nothing compared to the benefits and improvements that I made once I picked up painting Plein Air. The leap in improvement was almost immediate.
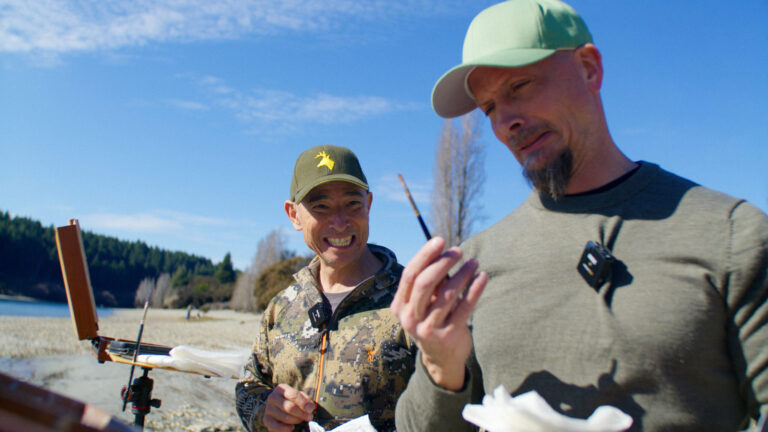
Painting Plein Air is a challenge. As I said to my buddy Mike Tan, as we painted at the outlet in Wanaka, it’s the hardest thing ever!
When I’m painting — whether a landscape, portrait, or still life — I reach for these go-to colors again and again. They give me a full range of temperature and value, without cluttering my workflow.
If it’s so hard, why do it at all? Good question. It’s a pressure cooker situation. You’re exposed to the elements, be it wind, harsh sun, rain, bugs, tourists, and then your subject is constantly changing, the light dramatically shifts in a short window and you’ve got only a few short hours to nail down your scene.
I’ve seen several artists give it a go and not pick it up again. But, if you’re up for a challenge, take my word, this will be the single best exercise you engage in to improve your studio painting. But you needn’t go it alone. I’ll be here in your corner sharing tips and tricks to make your life easier. In this blog entry, I want to share with you a bit about my approach and my materials, and I’ve even included a packing list for you. Enjoy.
Finding a Subject
Don’t muck around just bloomin paint it! We’re probably similar in the way that we want to paint the best scene possible, perfect composition and balance of elements…Right? THe trouble is you can spend AGES looking for that perfect subject and your wasting valuable painting time, straight up.
My recommendation is you find ONE THING you love about a scene and go from there. Listen to that internal dialogue and hear yourself say “Oh That looks cool”. That’s your cue to get out the easel. Just bloomin’ paint it!
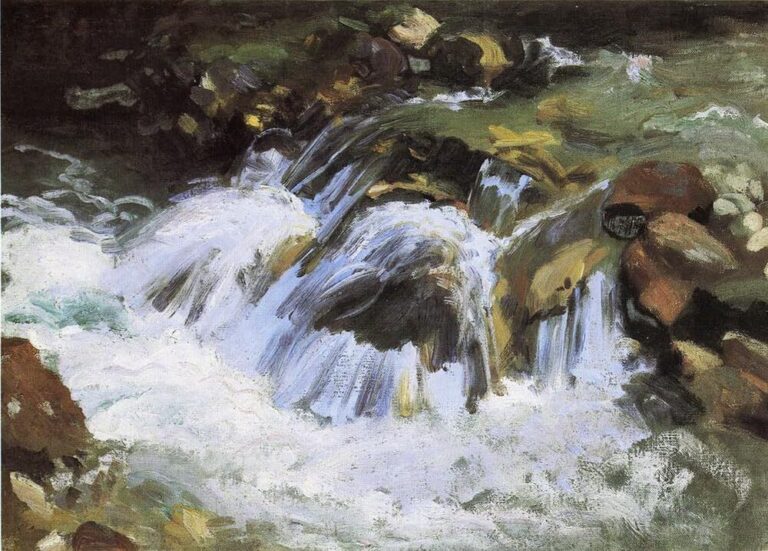
Now I don’t know how true this is, but it sounds good. I’ve heard that Sargent would just whip out his easel the moment he stepped onto location and paint what first struck him, no frissin’ around. He just got on with it. Well, whether it’s true or not, it sounds good to me! So I’ve adopted the same approach. Sargent’s paintings are an inspiration to those who are dedicated to plein air. His work captures a freshness of the scene, the raw essence of the places that inspired him. I’m struck by the simplicity of his plein air images.
My Plein Air Gear:
Palette
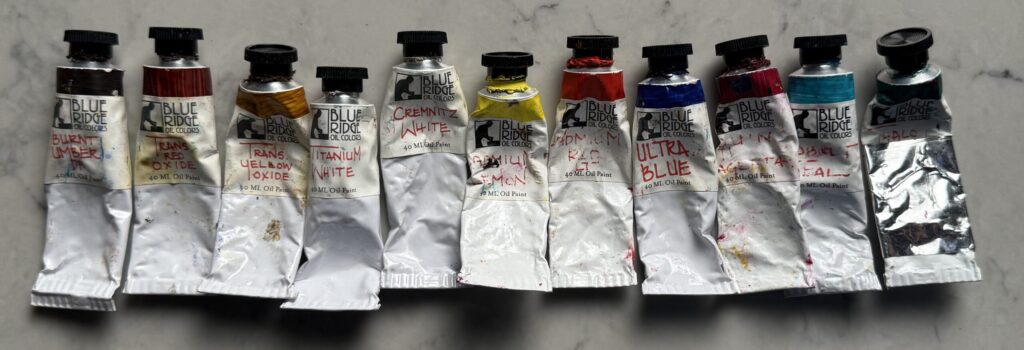
When I’m travelling in the field I limit the colours I’m using. Compared to my studio work the colours are paired back, yet there’s still the essential ingredients there to capture most of what I see. I’m using Blue Ridge Handmade Oils – these are exceptional quality paints handmade in North Carolina, by an absolute rockstar and colour master, Eric Silver
Want to know a fun test? Try mixing purple from different reds and blues. You’ll really notice the difference if you’re using muddier multi-pigment tubes.
The colours I have on my Plein AIr Palette are as follows: Burnt Umber Deep, Transparent Yellow Oxide, Titanium White, Cadmium Lemon, Cadmium Red Light, Quinacridone Magenta, Cobalt Teal, Pthalo Green. I’ll even add in some extras like Transparent Red Oxide, Cobalt Blue and Cremnitz White, occasionally.
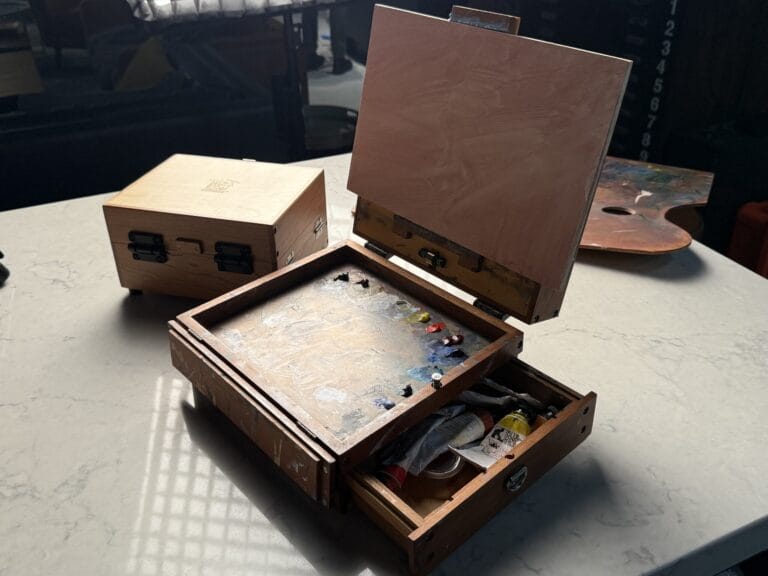
Pochade Box
Many years ago I picked up a book by Trevor Chamberlain, a UK artist, and a plein air master, and this is the first time I heard about Pochade Boxes. Now I have several in my collection. They make plein air painting convenient and enjoyable. A great box can make all the difference in the world! My favorite boxes are made by Alla Prima Pochade – created by Ben White in the US.
In my studio I have 3 boxes made by Ben, the Blackfoot 8×10” (my favorite) the Bitterroot 6×8” and the yellowstone 11×14”. The attention to detail in these boxes and the craftsmanship in their construction is second to none. They are definitely worth the investment. You have a drawer for your gear, and if you limit your palette, you can fit every tube for the session, there’s even a place to store panels in the lid. The whole box collapses up and contains everything, before, and after the session so you can safely transport your wet painting.
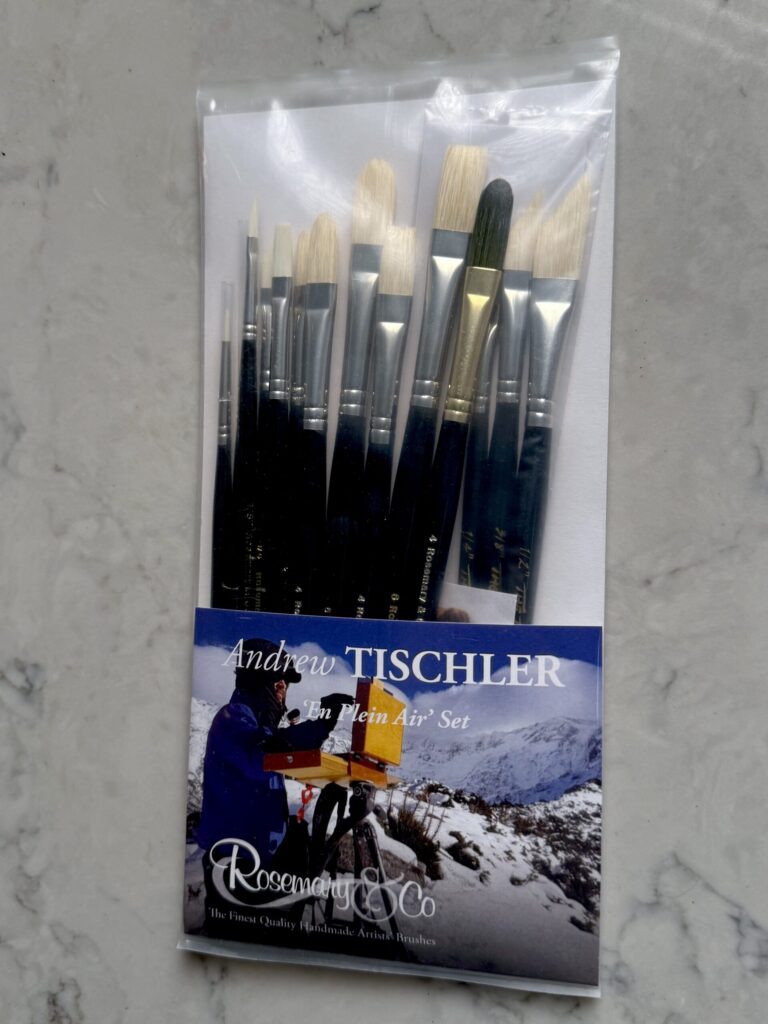
Brushes and Process
I use Rosemary & Co brushes – these are hands down the finest quality brushes I have ever painted with. You really need a great selection and a variety of shapes and sizes to capture the subject.
use synthetics and bristles out in the field. Generally I’m working on smaller work in the field, up to 11×14”, so I limit the size of the brush. That said, I like using a brush that’s a little larger than I feel comfortable with. This causes me to consciously consider my strokes and efficiently map out the scene without dabbing.
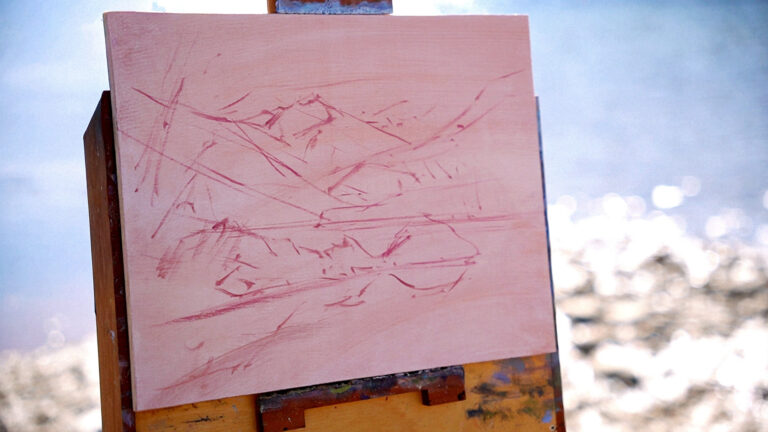
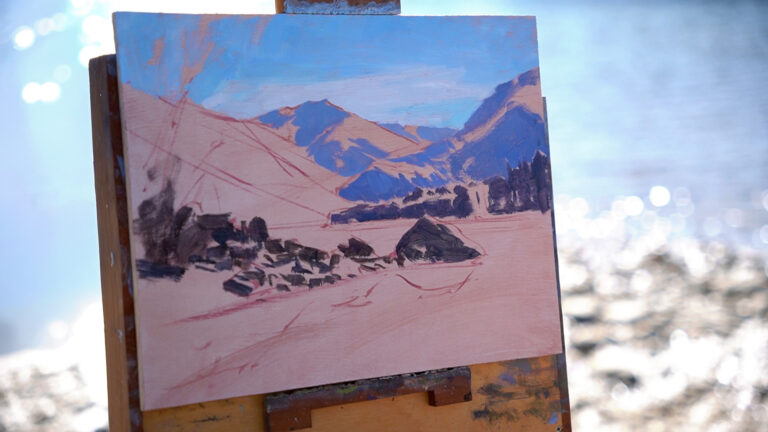
To sketch up the composition I’m using a synthetic filbert, and evergreen around #2 to #4. WIth a light amount of paint, Burnt Umber and Quinacridone, I press lightly, and make sweeping lines. No need for a pencil!
Then I use this same brush to map out the value structure, locking in my light and making those values lighter as I move into the background.
The primary challenge I find when working outside is that shifting light. YOur scene will look completely different at the end, than what you started with, so to avoid that shift in light angle from foreground to background, get your shadows looked in, otherwise you risk “chasing the light” and tripping up through the process.
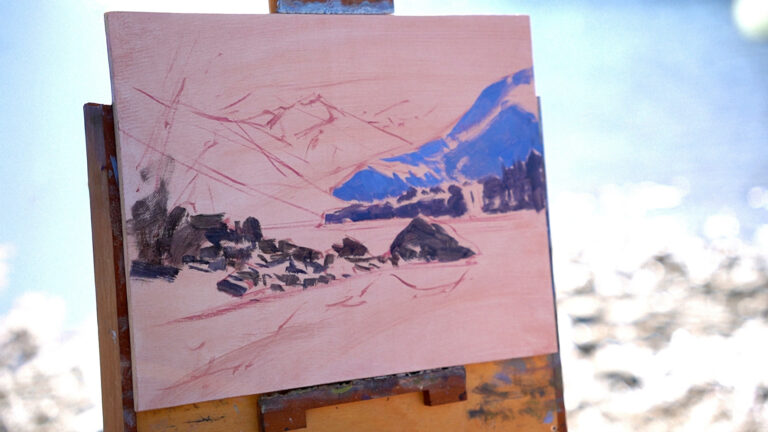
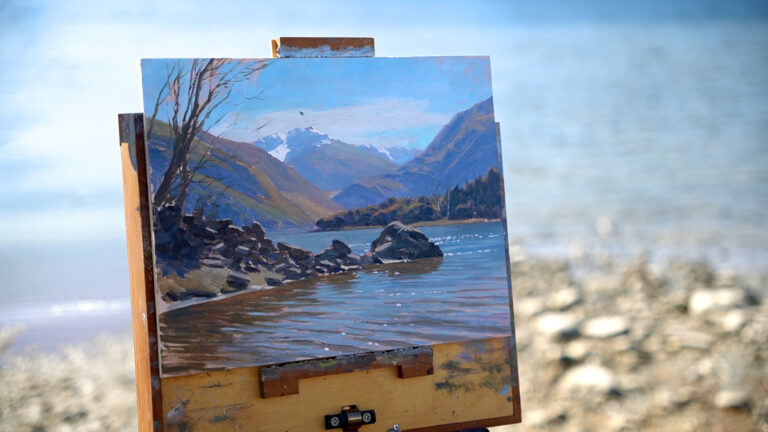
Then, I work into the background, bringing in the colour. As I do this I’m using Bristle Tisch Daggers, or long flats and filberts, all bristles. Once again, I’m using a brush that’s a little larger than I feel comfortable with- thinking about efficient strokes.
For the details I have a variety of shapes and sizes. My favourites are the 0 rigger, the 00 ivory round and the ¾ inch Ivory dagger. I’m adding individual accents right at the end of the session, bringing in branches, blades of grass, or flecks of snow in the mountains.
Stay tuned for another Blog entry all about colour mixing in the field, that’s another HUGE topic that I want to help you with.
Panels
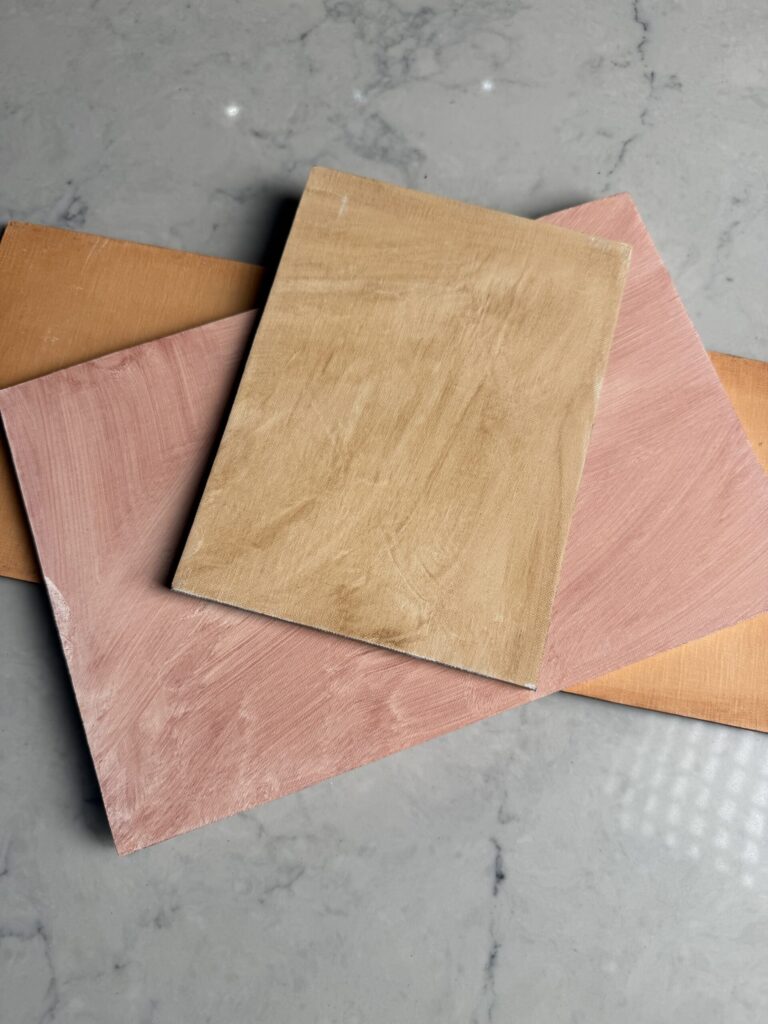
With so many different options on the market, my best recommendation is to go with the best quality you can afford. I use homemade panels. These are a hardboard, either a fine grain dressed plywood, or masonite with italian fine weave, triple primed linen adhered with exterior PVA glue.
I apply an “imprimatura” to my panels that’s a combination of burnt umber and burnt sienna. I create a mixture of gamsol and W&N Liquin Original. I paint on the fluid mixture and then rub this back thoroughly leaving a light, warm, earthy stain. This is totally dry by the time I attempt to paint, so naturally I make this part of the panel preparation days before going outside.
Medium
In the field I’m “running and gunning” working fast. I use a little liquin to aid the drying process and to break the surface tension in the paint. I use no more than one part Liquin to three parts paint, or a percentage of 25% maximum.
If I’m taking the study back into the studio, which is often the case, I can carry on working the same day, or the next and add layers of finer details, using the same ratio of medium.

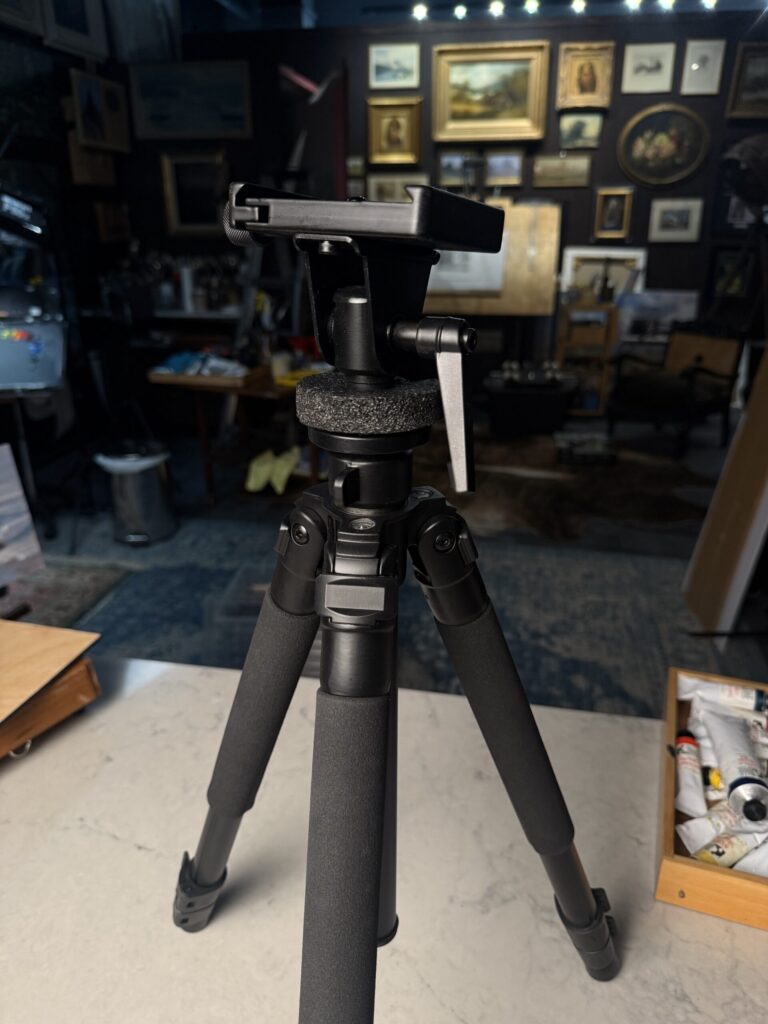
Tripod
You’ll want a sturdy tripod to hold up your box. This is the exact model we recommend for our students who join our tours here in New Zealand. These are cost effective and solid!
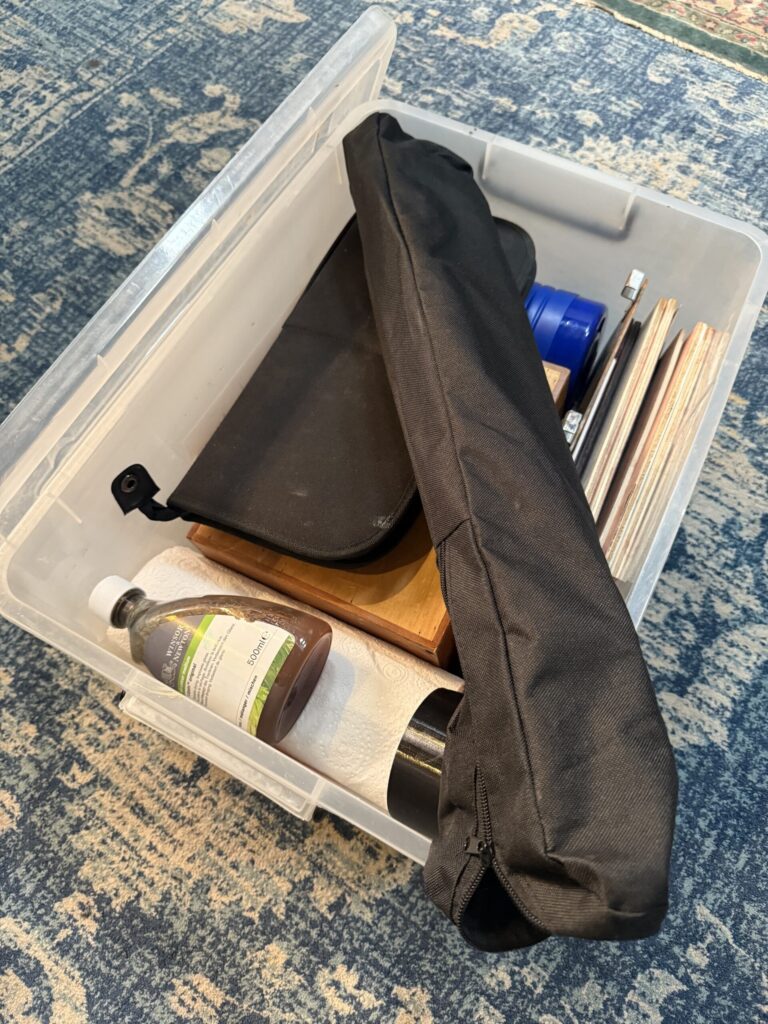
Now there’s a few extra things that you may want to consider taking into the field to make your experience a little more enjoyable, this is what I include in my storage tote that I drop on the ground…
Tote packing List:
Paper Towels
Palette Knife
Nitrile Gloves
Collapsible Umbrella (for shade)
Extra Tripod
Extra Panels
Bug Spray
Insect Face Net
Garbage Bags
Painters Wet Wipes
Duct Tape (just in case)
Coffee Flask, snacks and a water bottle (a must!)
Ready to Accelerate Your Plein Air painting?
If you’re eager to take the next step and master your materials and plein air painting techniques, I cover all of this in my Plein Air Painting course on Tisch Academy. Join in as I guide you through the stunning New Zealand landscape, offering detailed instruction for capturing the essence of the scene, working outdoors. You’ll see a VAST improvement in your techniques in the next 30 days, GUARANTEED!
Tisch
Never Miss a Post!
Keep up to date with videos, livestreams, blog posts, print drops and much more!
14 responses
Good solid informative article. Thank you. Adding insect netting and bug spray/ mosquito coils to my checklist also having been feasted upon on my last trip out! I dont know why but somehow I feel like more of a ‘real artist’ when im out en plein air painting. There’s just ‘something’ about it. A lovely way to work.
Years and years ago (when I was a single guy), I liked to paint outside. Somewhere in the fresh air, near the lake or in the forest, but hopefully nobody is around so that I can immerse myself in my painting. And I did not paint nature, not at all. I paint some copies of the famous masters. But being one-on-one with nature did the magic, not to mention an extra benefit: the smell of the paints was dissolving in the air. I still had some occasional wanderers looking over my shoulder, but not for a long time. As of today, I am not painting nature, but rather mostly portraits, some Art Deco, still life, and animals. However, I bought Andrew’s tutorial on a large painting of the New Zealand landscape. It is part of my big plan, and I am looking forward to a new challenge (the first one being a non-standard format that I have to adapt/change to accommodate the canvas size sold here in the US). I was in New Zealand just recently, and in fact very close to the place where Andrew lives, but I was with the group and could not find time to visit him. 🙁
Happy painting, guys!
Muito valiosa as suas informações.
Estou muito entusiasmado e ansioso pra aprender através dos seus ensinamentos.
Grato!
Welcome to Wanaka!
What brand is the tripod and where would one buy it?
Oooh , my heart skipped a beat … thought the title meant we were invited to Wānaka to go out en plein airing with you !!
I facilitate the en plein air group here on the southern Moreton bay islands of qld .. we stop in the summer because of the heat and bitey things … being a kiwi and adverse to heat I had conjured up a vision of painting the majestic views of Wānaka bathed in snow .
I’m giving this a go! I have my Alla Prima Pochade Bitterroot — which is amazing. And all my supplies
It is definitely frustrating, but somehow invigorating! We have a local plein air group here in the Pisgah Forest of North Carolina that I will join once I get a little more comfortable. Thank you Andrew for all your encouragement!
Just put this up on you latest video, feel free to use this anyway you want. Love you my friend, praying for you… “Join the Tisch Academy and Paint with Passion!
Hey there, aspiring artists! I’m up here in the breathtaking Sierra Mountains, painting en plein air, and let me tell you—it’s challenging, but it’s the ultimate way to learn how to truly see and capture the awe-inspiring beauty of God’s creation. Thanks to Andrew Tischler and the Tisch Academy, I’ve been able to grow as a painter, and I want YOU to experience this transformative journey too!
Whether you’re just starting out or you’re a seasoned artist looking to elevate your craft, the Tisch Academy, led by the incredible Andrew Tischler, will guide you every step of the way. Andrew isn’t just one of the finest painters and teachers out there—he’s a lifelong learner, drawing inspiration from the greatest artists of our time. His passion for growth is contagious, and his teaching style makes you feel like you’re his best friend, encouraging and challenging you to become the best painter you can be.
As an old football player, I never thought I’d find such joy in painting, but Andrew’s guidance has shown me the magic that happens when your brush, your eyes, and your heart connect. There are moments when you capture a mountain’s color just as God intended—it’s like you’re in labor, birthing a piece of art that feels divinely inspired. Those moments of connection with the Creator’s masterpiece are pure magic.
So, if you’re watching this and thinking, “I want to learn to paint like that!” or “I want to take my skills to the next level,” don’t wait. Sign up for the Tisch Academy today and join us! Andrew’s right—plein air painting may be tough, but the rewards are beyond worth it. Come experience the joy, the growth, and the connection to something greater. Thank you, Andrew, for inspiring us all. Bless you, my friend—let’s paint together!”
Hello
I have come across a few ways of painting and this style with the outlining in paint and then blocking in colours escapes me. I have Walter Foster books but doesn’t explain this style and how to capture it for myself. I’m sure I can use this sstyle for acrylic My oils I’m leaving for a later time. I have already done some watching time at a artists supposed lessons but I left them until acrylic serves me well. I also do watercolour. But this style intriques me Where can I get explanation on this style to understand it? thanks
Thank-you so much for all you have shared, I haven’t done much Plein Air as yet but this will be a very supportive start thank-you once again🎨🍃
Great primer, Andrew!! Thanks so much!!
Tackling the challenge of painting outdoors sounds like the ultimate exercise in staying present. Managing an independent online business means my environment is controlled. Introducing the unpredictability of wind and sun forces you to adapt. I use my runs by the Hanjiang River to practice physical adaptability. Painting outside is the perfect next step!
There is truly something irreplaceable about the sensory experience of painting outdoors that a photograph simply cannot capture. I completely agree with your point on how the elements—the shifting light and even the wind—force a level of rapid observation that sharpens one’s artistic instincts. It’s a challenging practice, but as you’ve articulated so well, it’s vital for anyone looking to bring more life and ‘atmosphere’ into their studio work. Thank you for the inspiration, Andrew!”
Andrew, thanks for this inspiring post! I especially appreciated your point about plein air painting forcing you to simplify and focus on the essential elements. I often get bogged down in details in the studio, so the idea of embracing those limitations outdoors is really appealing.
Thanks for sharing your insights on plein air painting, Andrew. I especially appreciated your point about embracing imperfections – it’s a great reminder that the goal is to capture a feeling, not necessarily a perfect reproduction. I find that painting outdoors really forces me to simplify and focus on the essence of a scene, which is a valuable lesson for studio work too.