- •
100 Tress Challenge
Hey Friend, In this blog I want to share with you a new challenge, something that I’m throwing myself into headfirst, and I’m hoping it will pay off – I’m also hoping you’ll join me… but read this first.
The Challenge
Recently on Tisch Academy we jumped into the 100 heads challenge. I’m still very much involved in this challenge. It’s exactly what it sounds like – draw 100 heads! The idea is simple – it’s all about SKILL ACQUISITION THROUGH REPETITION AND DELIBERATE PRACTICE.
This challenge is actually the same, although the subject has changed. This time we’re drawing trees. So how does it work? I dedicate a little bit of time each day and drawing trees. It can be trees in the landscape or studies of individual trees. As long as it’s a tree, it counts.
I am also reigning in the parameters. I thought that if I am going to see any real growth in my skills, I don’t want to keep changing direction with materials. I want to hone in on my hand eye coordination and see real growth with the pencil. So that’s it, pencil, paper and perhaps an eraser, that’s it. Now, you may have seen me draw on coloured card, this time it’s just plain white paper.
By limiting the variables it allows me to focus on what’s really important – THE DRAWING!
Throwing Myself in the Deep End
I decided to start off with something ambitious, something that would stretch me. Also, I decided to stick with my reference, pretty closely. This may not be the most “artistic” choice, but it’s an exercise, and we all have to get in our reps, right?
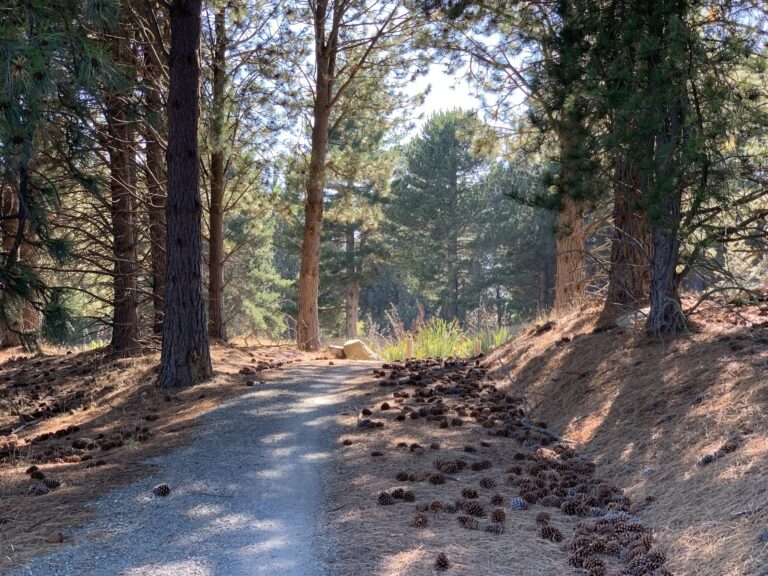
Here’s my Reference:
This picture was taken near Lake Tekapo in the South Island of New Zealand. What drew me to this image was the subtle shift in tones, as we look into the light up this dirt road. The trailing shadows and pinecones I thought would pose a real challenge.
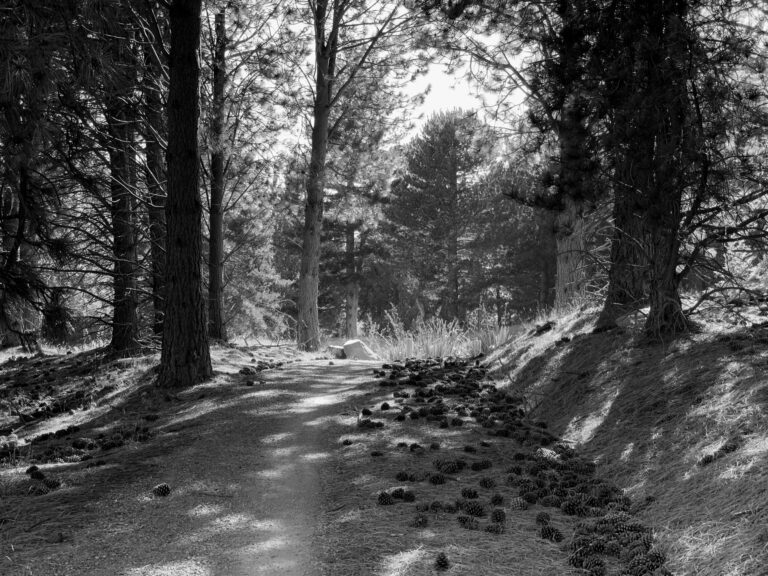
I made a few adjustments to the exposure and contrast, and then turned the image into the grayscale, ready for drawing. Here’s the black and white version:
Here’s the materials I’m using in this drawing:
Paper: Fabriano 120 gsm A3
White Foamcore Board A2 (as base pad for cushioning) + Masking tape
Staedtler Mars Lumograph Pencils H, HB, B and 2B
Staedtler Mars Lumograph Black Edition 2B, 4B and 6B
Staedtler Mechanical Pencils – 0.35mm, 0.5mm and 0.7mm in B and 2B
YStudio Style 0.7mm Mechanical Pencil with 2B leads
Tombow Monozero Eraser
Soft Brush for dusting
Bank sheet for Hand Shield
White Cotton Glove for paper protection and smudge reduction
Paper Stump for light smudging and shading
Now you have the challenge set out, the materials, we have the reference on hand, the paper taped down and the pencils sharpened. Ready to jump in? Let’s GO!
Process:
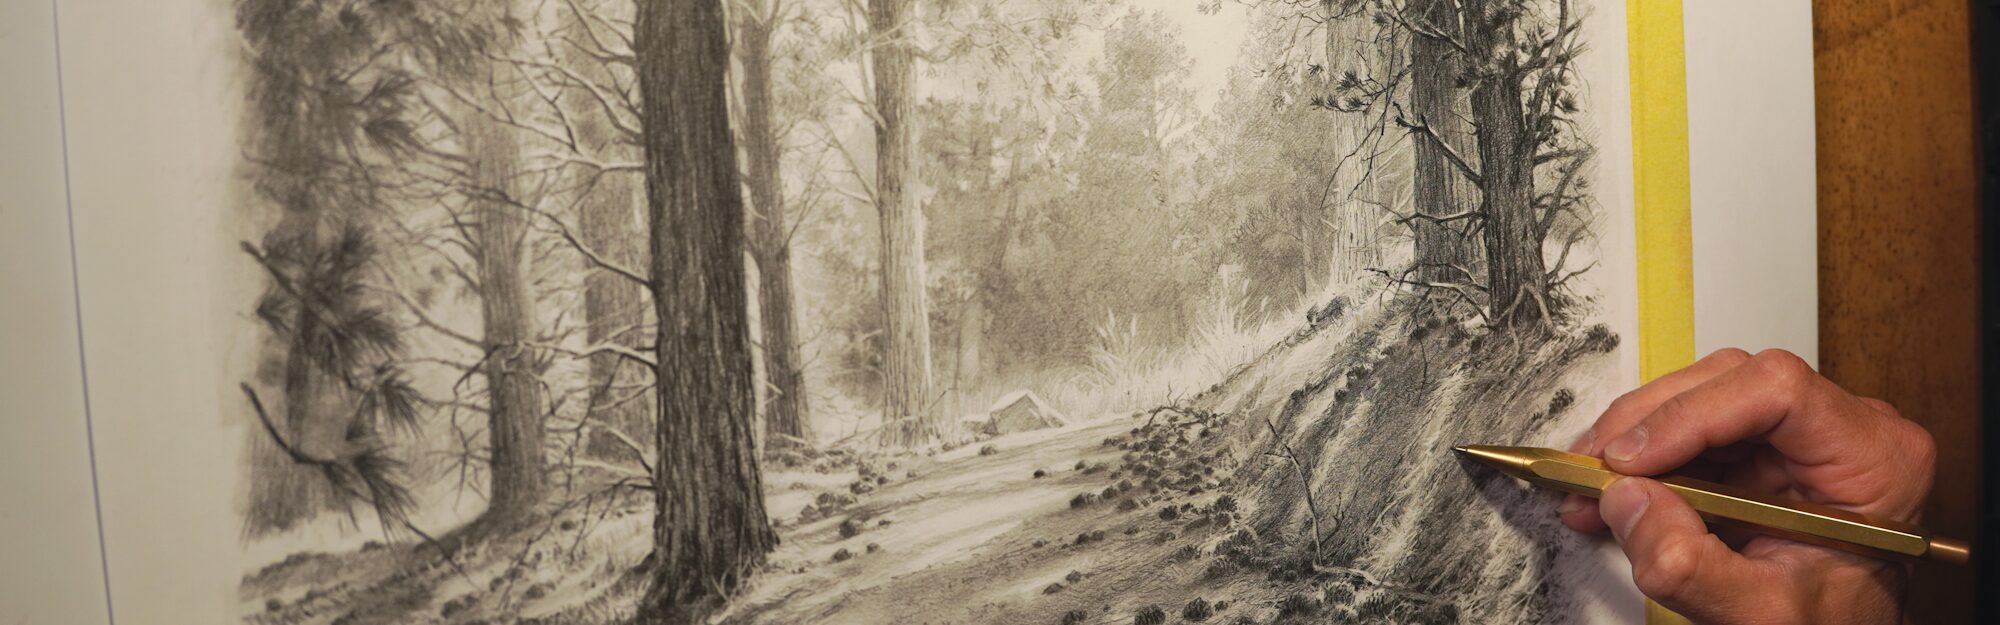
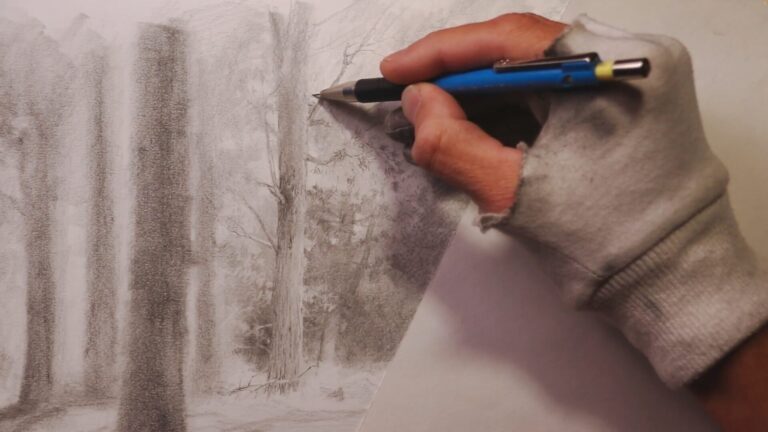
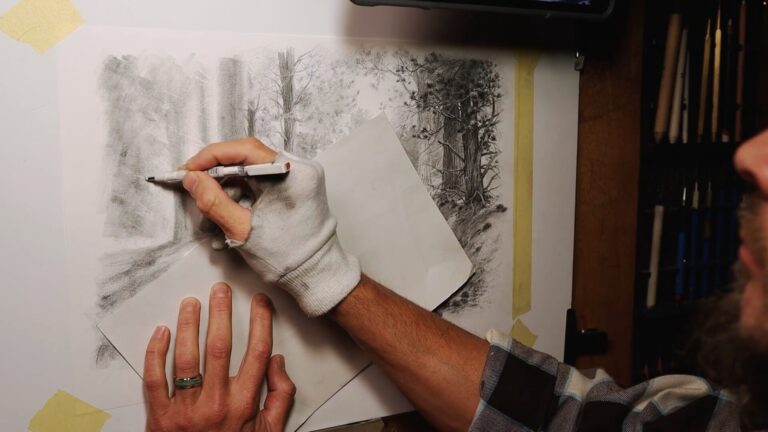
1. Construction and light shading
I start things off with light construction lines. I begin with the hardest leads I have on hand. Notice how the exposed lead is so long? This is because I sharpen the pencil exposing as much as possible without the lead snapping. With an overhand grip I lightly sketch in my initial construction lines. I fill in a few shapes lightly using the H weight lead – with a Staedtler Mars Lumograph. This stage provides the map for the main features. My composition is firmly established in this phase. It’s important here to not press too hard, otherwise you score the paper, and that will cause a headache later in the process.
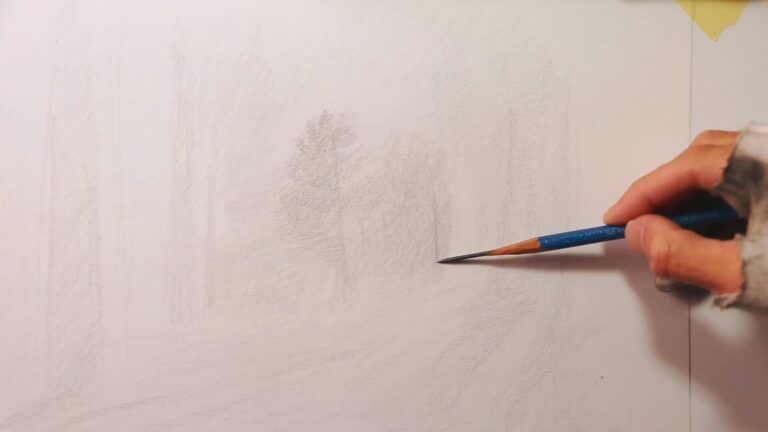
2. Adding Value – Building Form
Naturally we can press a little harder and achieve a slightly darker line, though there will be diminishing returns withthe H. I make the switch to an HB and even pick up the mechanical pencils. We want to preserve the darkest tones for the immediate foreground. Darker tones, or values will come further forward giving our drawing depth. I’m following my construction closely and adding in a few details on the distant trees. I resist the temptation to go too dark in the furthest zones.
3. Moving Forward, darkening Details
I use some mechanical pencils in the foreground trees, going for the B and 2B leads in 0.5 and 0.7mm. Pressing a little harder now it’s starting to get darker where appropriate – though I am repeating the same mantra in my head that my Tisch Academy members have heard all too often “save your tonal best for last!”. What’s my tonal best? It’s the darkest dark of course, and the light of the paper. Either end of my value scale has to show up in the right areas to achieve the 3 dimensional quality we are chasing.
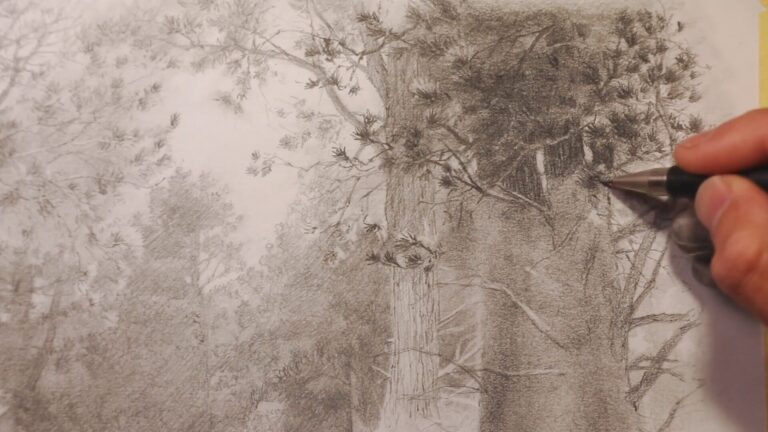
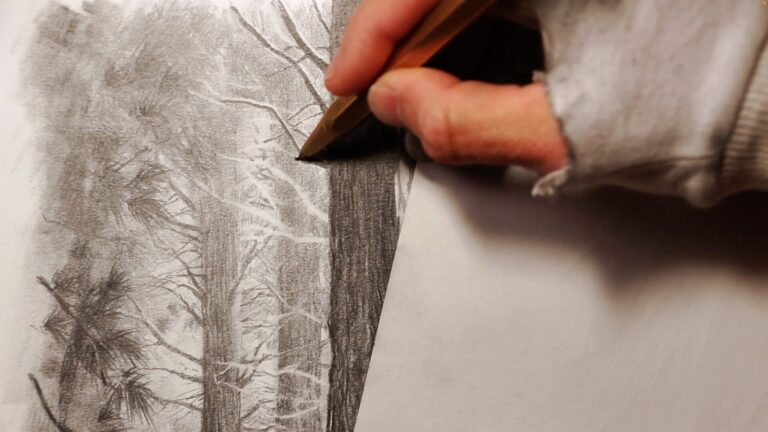
4. Think about Edges
I hone in with even darker marks, achieving some pine bark texture with sharp strokes. Sharper edges, like dark tones will jump out. We’ll use this to our advantage to create that depth. Now I’m thinking about the edges and the boundaries with light areas. Note the difference from this to the distance? We want that full tonal range!
5. Light Against Dark, Dark Against Light
As the light filters through the trees it sets up an awesome interlocking pattern of light against dark, and dark against light. I pull in even more dark tone, using softer leads. The Staedtler Mars Lumograph Black is great for the depth of tone you can achieve. Using a paper shield I can help limit the smudging of valuable mark making. I keep this locked in place as I move across the drawing.
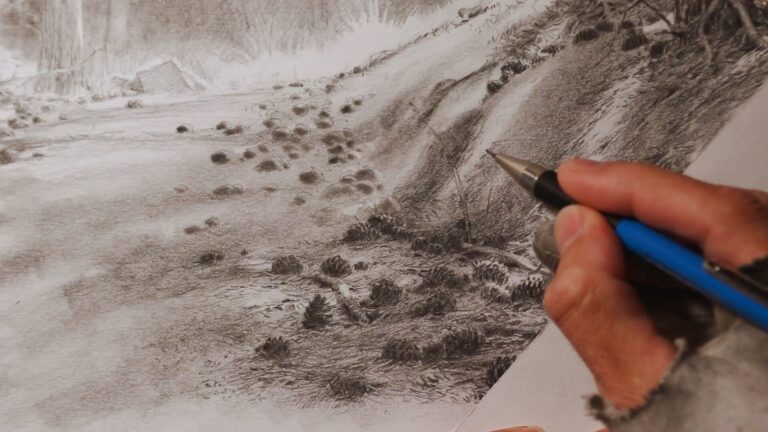
6. Thinking in Negative, Selective Erasing
Making a great drawing is not only about making marks, it’s also about removing material. I use a Tombow Monozero eraser, this is a little over 2mm in diameter. I trim this with a stanley knife sharpening it to a wedge shaped point. Though this point doesn’t last long, it allows for some incredibly fine highlights, perfect for the branches catching the light falling through the pine needles above.
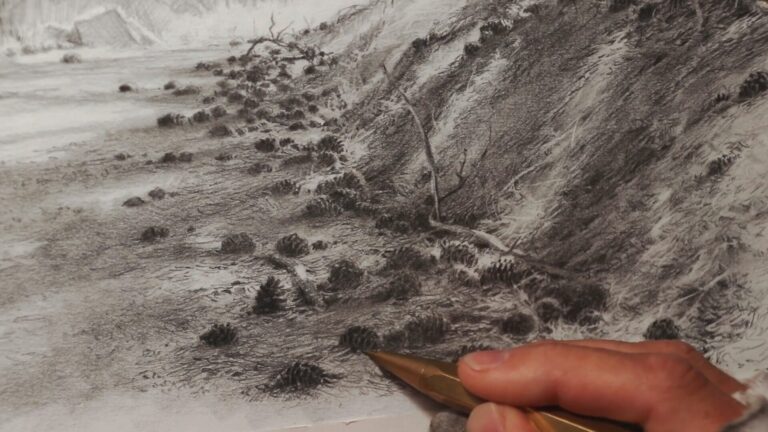
7. Sharpening the Foreground, Finding Character in Form
One of my favorite pencils to use is the YStudio Style 0.7mm mechanical pencil. It’s solid brass, weighs a tonne, but it’s so darn cool! I load this with B leads and it’s great for darker accents. It will only go so far with the dark tone, we can go further still, but it’s great for the shadows between the scales on our pinecones. I think about form, and patterns in the pinecones, referring to my photo constantly, taking cues on changes in size, shape and orientation of the cones.
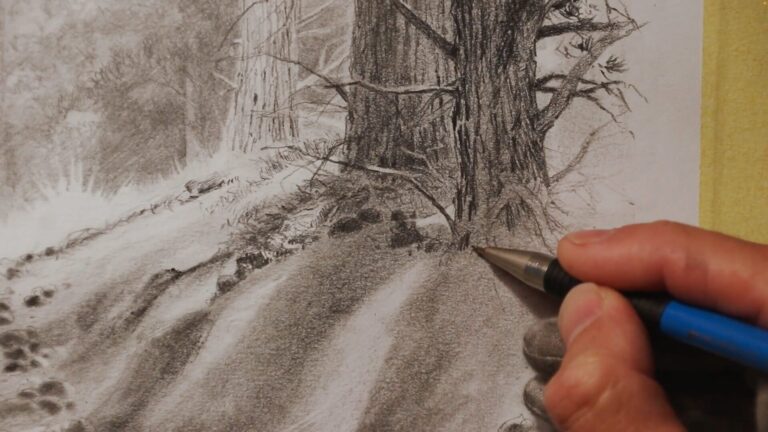
8. Bringing it all together
I added a few darker needles from trees that are just outside of the frame of view giving the impression that the scene carries on beyond the bounds of the picture plain. I work with darker tones where I had revealed highlights previously. Now each branch has a sharp shadow and a corresponding highlight. I love how this jumps out from the background tones.
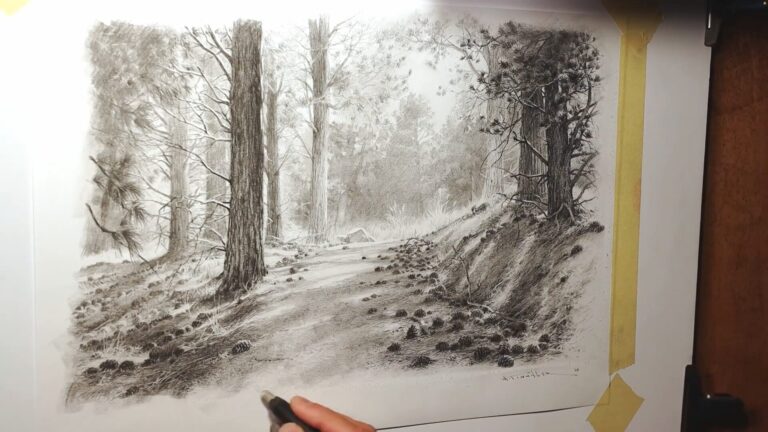
9. Final Reveal
One thing I continually applied while producing this drawing was some light shading and smudging, holding a paper stump with an overhand grip, allowing me to lightly press into the paper and solidify shadows. This has a great effect when it’s followed immediately by sharp line-work.
Drawing 100 Trees – Deliberate Practice and Skill Acquisition
Let me give you a little bit of my thought process on how to get better at drawing. First off, this is going to take some time and dedication, but with that comes improvement. One thing I’ve come to realise in my 20+ years of professional experience: you’ll never arrive at the magical destination in your mind – and that’s a good thing! Making art is like climbing a continuous ladder. There’s always another rung, but with each reach upwards, there’s a new height to reach in skill.
As long as you’re growing, it’s rewarding. With a limit to variables and parameters, you can really measure and track your progress. It becomes highly addictive to see the improvements on the page, day by day.
So how then do we drive that improvement and avoid doing the same thing over and over? I like to ask myself 4 questions INTENSELY. I ask as if I expect an answer. I start positively; “What’s working here?” I celebrate the wins in the drawing. Then, with this in mind I’m in a better frame to explore “What’s not working?” From here I identify at least 3 things I can improve on in the next drawing – side note, try to fix the next drawing, don’t obsess over the same drawing, halting your progress. Then I ask – “Who else has been here before?” Are there examples from masters that I can take cues from? Finally I ask “What if…?” This is where, with my inspiration in mind, I can explore a fresh approach.
Personally I have found this shift in mindset has SKYROCKETED my skills. And guess what? I’m just getting started!
Master Drawings – Finding Inspiration
I’d love to share some drawings that I find insanely inspiring. I hope you do too. These drive me to want to create better work and continue with this challenge. Once I see what’s possible with Pencil, I can’t help but feel the inspiration, and the call of the pencil.
1. Alfred Hartley – Master Etching
This isn’t a drawing per se, but it is tonal, and something that could be achieved in pencil, I’m convinced. I love the use of tone here. Check out that light against dark and the dark against light!

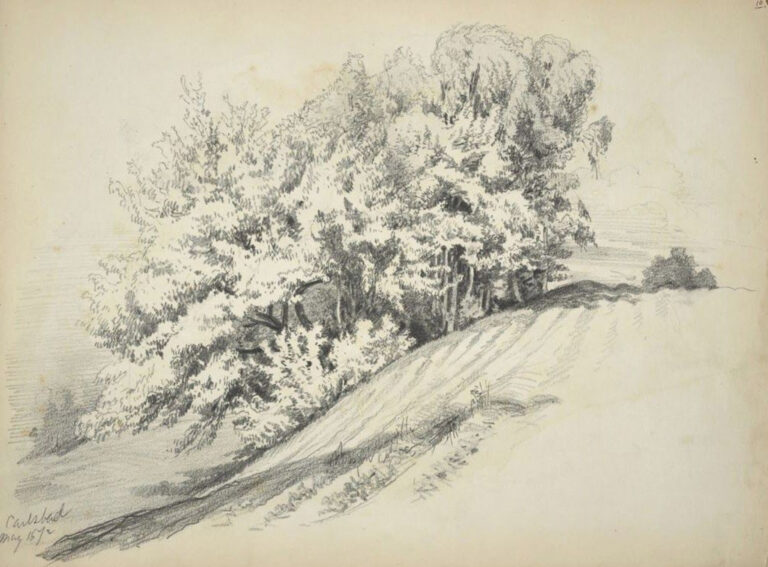
2. John Singer Sargent – Freedom and Movement
Sargent’s drawings are beautiful in their elegance. It makes me want to loosen up and explore the simple. Like with paint, he handled that pencil masterfully!
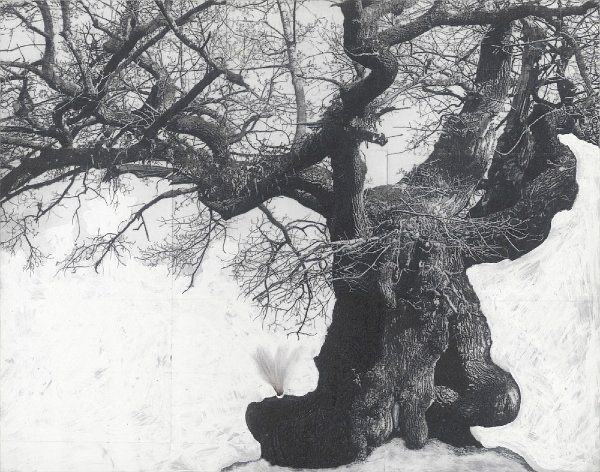
3. Patrick Van Caeckenbergh – Depth of Tone
I love the quality of tone here and the contrast of the branches against the darker trunk in this drawing.
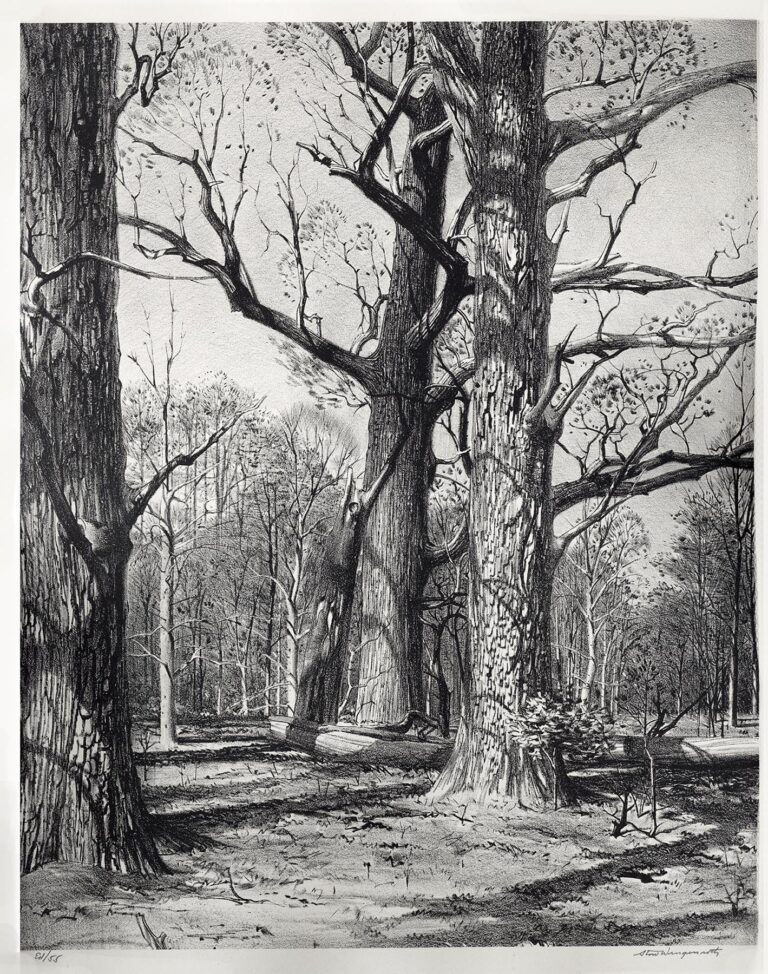
4. Stow Wengenroth – Perspective Light Interplay
Wengenroth brings it all together with this masterpiece. I love the perspective and use of tone here to create a sense of depth. Exceptional!
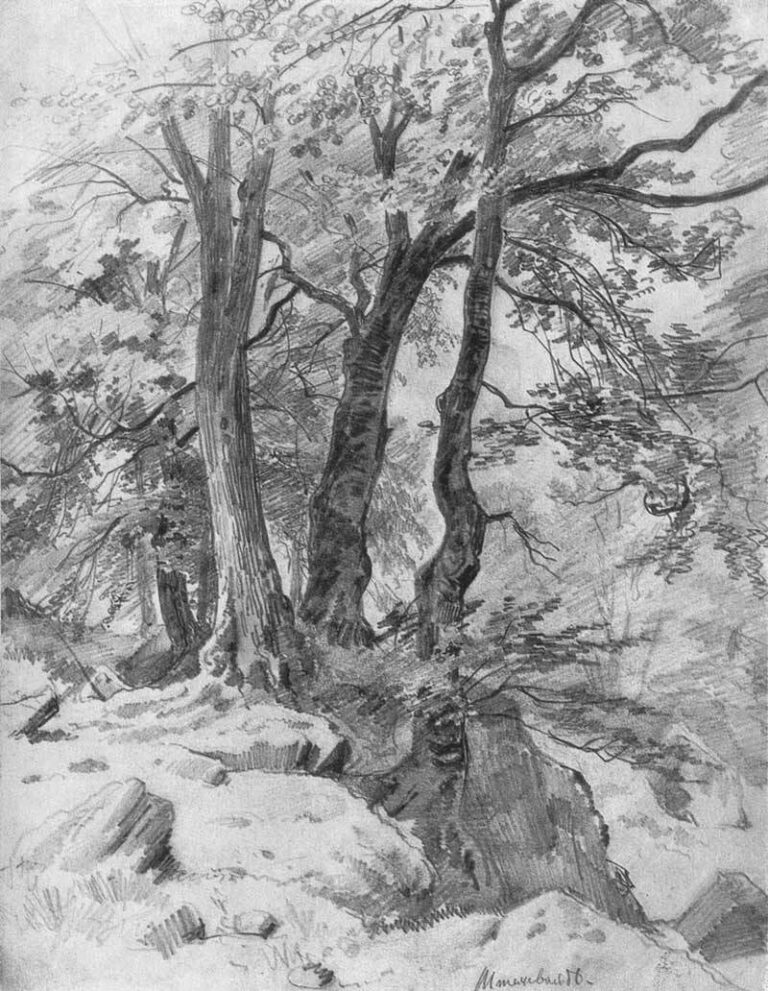
5. Ivan Ivanovich Shishkin
Shishkin is one of my favorite painters. He created some incredible studies in pencil before hitting the easel. I love his deliberate hatching technique to create shades under the trees.
There you are, my friend, I wanted to share a bit of my process and inspiration with you. I hope you will join me in this challenge. If you’re already doing the 100 heads, then do both! Mix it up! This will pay dividends in your art journey, and if you’re a painter primarily, then you’ll see a vast improvement at the easel. After all, drawing is a foundational and fundamental skill!
If you’re wanting to improve NOW then check out the full video tutorial on thai drawing, available now on TISCH ACADEMY. This is your one sure-fire way to skyrocket your skill and bring your artistic vision to life. Join our exclusive community – this is simply the best, most supportive and dedicated palace for art online – period.
See you in the studio! Get those pencils out!
Tisch
Never Miss a Post!
Keep up to date with videos, livestreams, blog posts, print drops and much more!
9 responses
I have a huge book of Stow Wengenroth etchings and drawings. They take my breath away. Beautiful drawing Andrew. Who doesn’t love tree!!
Nice blog Andrew, just finished the youtube video too. I definitely need to get back on my drawing more seriously! There’s definitely something special about a good ol’ graphite or charcoal drawing! Trees offer an endless variety of inspiration as well! Looking forward to the next one! Also, have you ever tried the Wolf Carbon pencils? I love the Staedtler graphites too and I use the carbons for the darkest values because they don’t have that reflective quality like the very soft graphite leads. They have a nice matte black finish which is good if you have some larger, deep black areas of value. Sure you know these things ;]
Love the master drawings you included in this blog. I agree with Lori, Stow Wengenroth’s drawing is mind boggling. All of these drawings, along with the one you did, of course, are inspirational. I look forward to taking on this challenge.
I’ve been working on this drawing approximately 4 hours at present. It’s a slow process for me. I applied how you talked through the process and the blog You are definitely drawing like your artists of inspiration!
Thank you’
I’m looking forward to growing my skills with both the 100 heads and the 100 tree challenges. So much so that I signed up for a drawing class at a local community art center. Finished the round of basic drawing 2 weeks ago, I’m very excited to start the intermediate sessions tonight. Maybe we’ll be “allowed” to use the blending stumps soonly We’ve been discouraged from using blending stumps and smudging thus far.
Apologies for the potential stupid question but, are you going to supply all of the reference photos or do we come up with our own
Hi David the royalty-free references are available on Tisch Academy.
Tisch- I have the same question also!? I am having trouble finding the references in Tisch Academy.
Hi Samantha,
The References are under ‘Downloads’ under the 100 Trees Demo on Tisch Academy